Sunday 23 February 2014

Maloof Rocker

Some time back I became enamored by the rocking chairs made by Sam Maloof.  Then. about two and a half years ago I decided to go for it and build one.  Many of the techniques were new to me, cutting the Maloof joint with splayed legs and the use of rasps to sculpt the joinery to name a few.  With so many new techniques to explore I decided I could use a little guidance; so I purchased a set of plans/DVD from Scott Morrison out of Montana.  I won't go into details on the plans themselves, suffice it to say that Scott was quite thorough and I'd definitely recommend his plans to anyone interested.

For some reason, this has been a project which has repeatedly been set aside as other deadlines and priorities loomed overhead.  Thus, the rocker developed in spurts and the photography along the way was inconsistent to say the least.  With that being said I'll show what I can and you'll just have to fill in some blanks or contact me with questions about the stuff I had to skip over.  There will be a few posts describing the process as I get the writeup for each stage completed.  

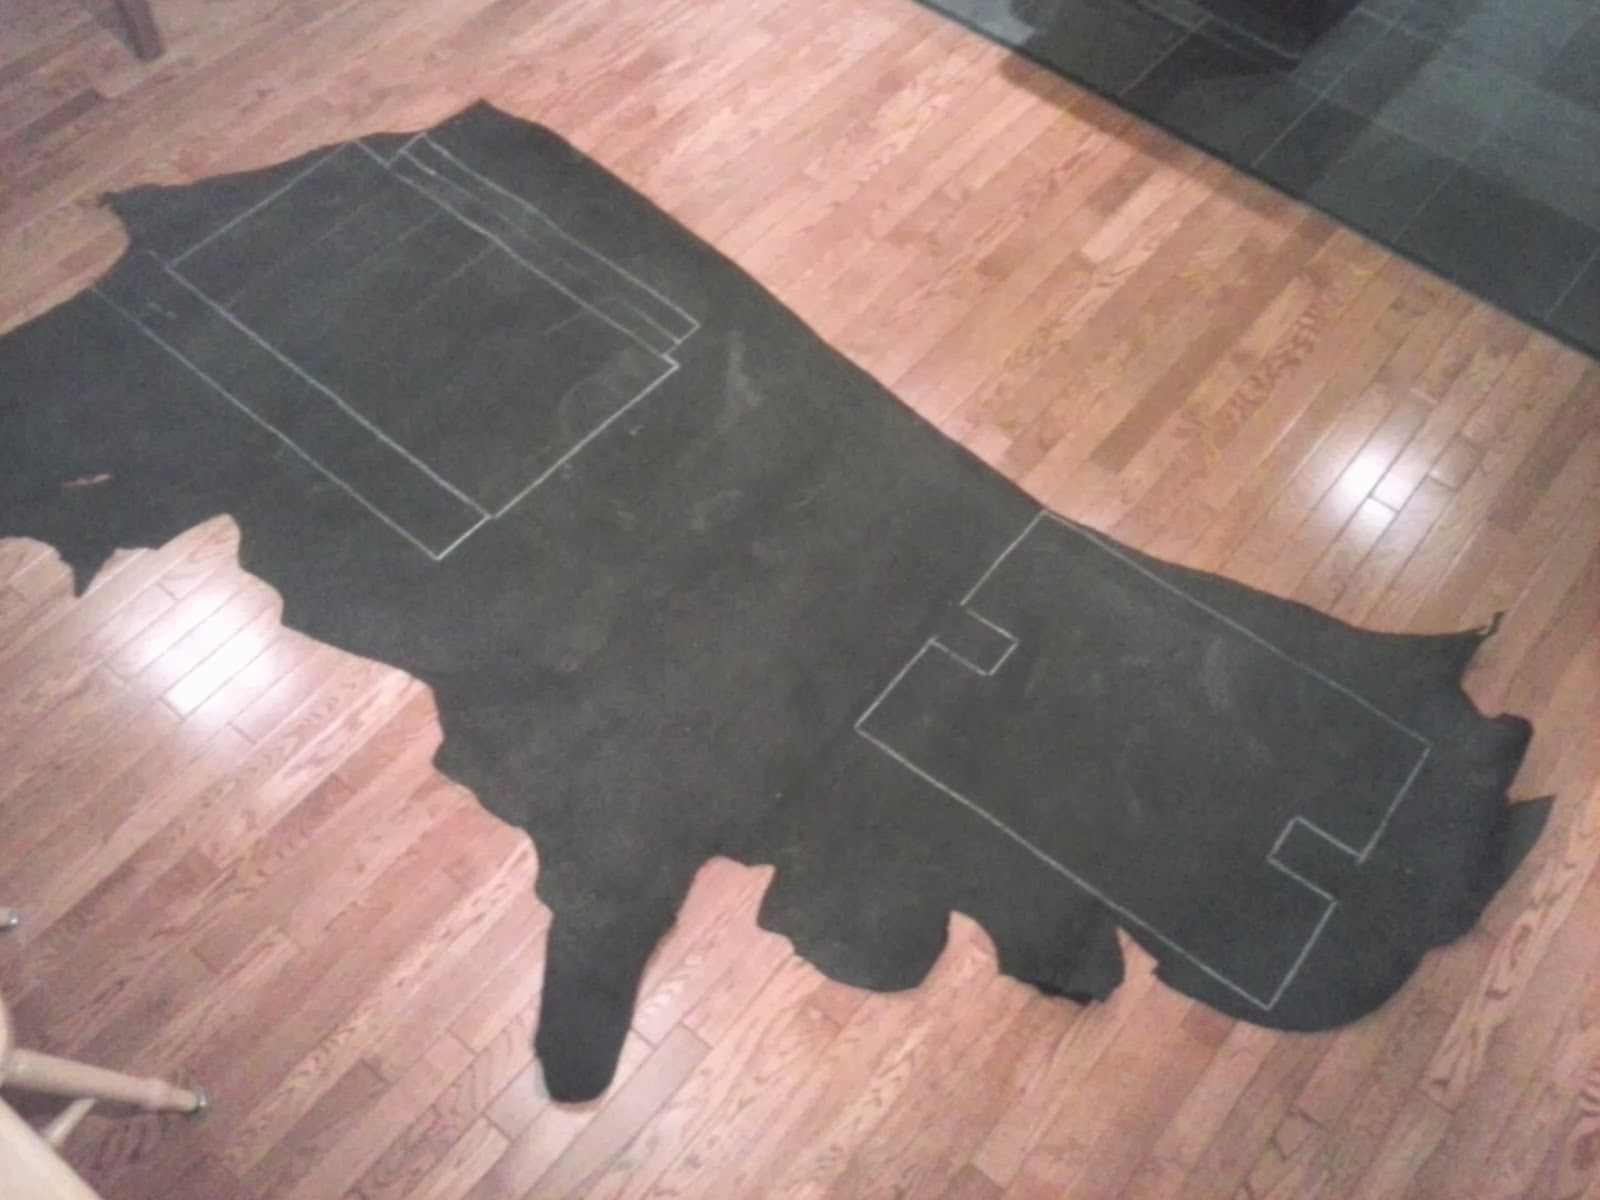
First step of course was to break out stock.  Using a set of full size templates and the bandsaw made it easy to mix and match to get the best use of materials.  

Breaking up Stock

All the Parts Broken Up
Unfortunately, here is a large gap in the project; and when I say large - I mean really large. 

So, by way of getting caught up on a few things.  The seats are glued up from 5 boards, there is a 3 degree slope cut on each of the seams to start creating the scooped shape of the seat.  Then, a grinder and sanders are used to waste away the bulk of the wood while creating the saddle.  The real fun was in cutting the joinery for the legs.  Notches were cut out of the sides up near the front and in the corners at the rear; then, rabbeting bits were used to recess the top and bottom surfaces and create the first half of the Maloof joint.  The joinery for the front legs to the seat was relatively simple.  A dado is cut to match the ledges on the seat left behind by the rabbets.  With that complete the legs are turned on the lath and the lower portion is brought to a diameter of 1-1/4", and the top portion to 1-3/8".  The tops of the front legs need to be cut on a slope down towards the back of the chair at 13 degrees to allow a flush surface for the arms to join with.

Trimming to Length and Slope
When joining the front legs to the seat I used two pipe clamps; one above and one below; which allowed me to adjust pressure and ensure that the legs are held parallel to each other and perpendicular to the seat. 

Gluing the Front Legs to the Seat
When joining the rear legs to the seat it is important to control the splay of the legs and ensure that they are symmetrical.  To make sure of this a mock headrest with 5 degree slopes on each end was used to align the legs.  Things are finally starting to look like a chair.  

Rear Legs Being Glued tot he Seat
With the rear legs glued into place it is time to attach the arms.  You may notice that the arms are not shaped at this point, that will be taken care of after installation.  The first step to install them is to trim the ends of the arms to match the slope of the joint with the rear legs. 

Trimming the Back of the Arm
The arms are installed with a screw through the rear leg and a dowel in the front leg. 

First, the joint with the front leg.  There is a 1/2" diameter hole in the top of the leg, a center finder is placed in it and then the arm is set into place and the dowel position is marked with the center-finder.  Once that is completed, the arm is held in position and a straightedge is used to sight down the leg and draw the slope at which the dowel will be inserted into the arm.  This is then drilled and a dowel is epoxied in place. 

Marking for Dowel Alignment
To make the joint with the rear leg the joint is held firm with a couple clamps.  Then, a stepped hole is drilled through the rear leg so that in addition to the glue in the joint,  a screw can draw the arm snug. 

Clamping the Arm in Place to Drill through the Rear Leg
Some of you may have noticed that some of the photos are of chair parts made of walnut, and some are made of cherry.  There is of course a reasonable / ridiculous reason for this.  I figured that as long as I was setting up angles for cuts on the table saw and such I might as well get the most out of all the setup; so I've been working on three chairs simultaneously.  Well, up to now anyways.  Now that the cutting and assembly is done, the next major phase is sculpting of the joints and I am now working on one chair to completion.  

Three Initial Assemblies all Glued up and Ready for Shaping

Wednesday 12 February 2014

Roorkhee Chair

About 4 years ago I was in Egypt and while wandering through some shops in Cairo I saw a chair which I would have described as the best looking lawn chair I'd ever seen.  Then, a couple years back Chris Schwarz wrote an article for Popular Woodworking and I saw that lawn chair on the cover of the magazine.  It turns out that the type of chair is called a Roorkhee; and they became popular during the days of the British Campaigns as they pack up light and small.

Recently, I did come across a "modern day" version of the roorkhee while wandering through a furniture store.  It had a solid frame made of brushed steel with leather for the backrest and seat.  


A Similar Chair in a Store

Wow!!!

Many of my projects lately have run into delays, they have been complicated and long term.  So after keeping this chair inteh back of my mind for a while I decided to take a swing at it as it seemed like it might be good for woodworker looking for a "safe" project.  

The project started with a set of templates, both for the woodwork and for the leatherwork.  I made up a story board for the woodwork, one side for the legs, the other for the stretchers and back support stays. 

Woodworking Story Board for the Chair

Due to the leather forming the seat and the backrest there is relatively little wood and little woodwork compared with other chairs.  Really only 10 sticks; 4 legs which are almost identical, 4 stretchers which are all identical, and 2 back support stays.

Wood Components Roughed Out and Ready

The mortise and tenon joints for this chair are made with tapered tenons which mate with a similarly tapered mortise.  The tenons are cut onto the stretchers with a tapered tenon cutter which essentially works like a large pencil sharpener.  The mortises are cut in two stages; first a 1/2" diameter hole is drilled through the leg.  Second, a tapered reamer is used in a hand brace to enlarge the mortise and make it cone shaped, matching the taper of the tenon on the stretchers.  


Tapered Tenon Cutter


Tapered Reamer

This was the only part of the woodworking that was a little outside the norm I figured I'd move right on to the leatherworking which was quite a bit of fun.  I found the leatherwork to be pretty easy.  Like much of woodworking it comes down to careful layout and using sharp tools.   

The leather work started with some templates which I could arrange over the leather for optimal use.  Just like wood, leather is natural and can have defects which need to be worked around.  The templates let me work around the defects while trying to keep the most efficient offcuts.  I found chalk to be the only thing which marked the leather well, a straight edge and sharp utility knife were all that were needed to cut the leather. 


Templates of the Leather Components

The Hide Ready for Cutting

Leather Parts Cut Out and Ready to Work

To join the leather two basic tools are all that were needed.  A leather punch to make the holes (which are sized to match the rivets going through), and an anvil with matching setter to install the rivets or eyelets.  

The leather punch is pretty straightforward.  It works just like a pair of pliers a pops out perfect little holes every time. 

Leather Punch

The anvil (pictured below) is placed on the table, both halves of the rivet or eyelet are set into place and then set over the anvil.  Then, the setter is placed on top and hit with a hammer a couple times to place the rivet.  The anvil and setter force the post of one half of the rivet to bend and couple with the other half of the rivet.  Beautifully simple. 

Anvil and Both Halves of the Eyelets


I don't know what it is but I have to admit there is something sexy abut black leather detailed with silver eyelets and rivets.  
Eyelets for the Seat

The arms attache to the chair by means of a pair of ball nuts on the front and back legs.  The leather is stretched over the tops of the legs and holes with slits to extend them slip over the ball nuts.  

Detail of the Ball Nut

The back rest stays attach to the tops of the rear legs by means of a nut and bolt which allows it to pivot to whatever angle the sitter is leaning at.  

Back of the Chair

The lacing on the underside of the seat can be tightened over time to compensate for any stretching that may develop in the leather. 

Lacing on the Underside of the Seat


I had a few friends come over a couple days ago and encouraged them to try out the chair as I wanted to know if they found it comfortable.  I was quite pleased with the results as there were 4 people who tried it out and 2 of them almost instantly said "Wow" upon sitting down.  I admit as well that I do find the chair to be very comfortable, the longest sit I've had so far is 45 minutes and it was great for the duration.   


Finished Roorkhee Chair