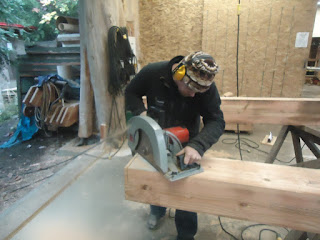
In the first timber framing post I mentioned that we are using center-line layout techniques. This is somewhat different from how I have traditionally done woodworking because for furniture most of the time I use face layout. As it has been so new to me I thought all my other woodworking buddies would be interested in how to use this technique. I have tried to take some picture of the process but gave up and decided to make three short videos that capture the process. One of the good things about this technique is that it does not require stock with is true. It will work on timbers which are true, those that are askew, and logs too.
Before any layout can begin the timber must be leveled and well supported. In this situation level refers to leveling one face of the timber, generally the one with the most joinery, the rest need not be true.
Step 1. An approximate center point from which to start working.
Step 2. Use the center point and a level to trace a horizontal center line.
Step 3. Find the mid point of this line as a reference point to trace a vertical center line.
Step 4. From these vertical and horizontal center lines work outwards to create a full square grid.
Step 5. Repeat on the other end of the timber.
In the video I am working on an 8 x 8 timber so the offset lines from
center are 3 3/4 inches. This gives us theoretical timber of 7 1/2 x 7
1/2. It is this theoretical timber which we will cut our joinery to.
The extra outside the theoretical will remain attached but will be
worked around.
The second phase of center line layout prep is to connect the grids from end to end using a string line. The three lines on each of the four faces of the timber are connected to draw out the full length 7.5x7.5 theoretical timber we will be working on. Once done, accuracy can be easily checked by ensuring the measurements between the lines remain the same for their entire length. Also, in the case of a bowed timber the locations of the lines can be adjusted to allow for changes in joinery.
The third component of timber layout prep is a squaring line. This is done at each location where joinery will be done. A point is selected which will be a reference point for the joint we will make. A carpenter's square is referenced true against one of the reference lines drawn in the previous step. Then a line is drawn perpendicular to the reference lines through the point and off both edges of the timber. The timber is rolled and the line is continued around from side to side to side returning to the side it started from. The key is to always reference the lines and not the edge of the timber. When the line returns to its starting point it should meet itself exactly.
I am now ready to start drawing out the joint, in this case a shouldered tenon. The joint is drawn completely from the reference lines looking only at the theoretical 7.5x7.5 timber. Any extra wood that is outside those lines will be removed along the way.


